When you think of painter’s tape, you likely think of applying it during wall painting projects, like on baseboards and ceiling lines to protect surfaces from paint drips or for taping off stripes and murals to ensure a clean result. But painter’s tape isn’t just for walls. It can also be applied to wood furniture, from bookcases and tables to bedroom furniture like dressers and nightstands, to upgrade dated pieces. When used correctly, this versatile tool gives you the power to customize any wall or piece of furniture in your home.
Prep Steps for a Furniture Refresh
Painter’s tape can make or break the results of your furniture update. To ensure optimal results, select the right tape, prep the surface and apply the tape correctly.
- Elija la cinta adecuada: You might be wondering ‘is painter’s tape safe on wood furniture?' and the answer is yes, as long as you choose the right one. A few factors to consider include surface, type of paint, project duration, application area and tape width.
- For example, it's recommended to use a lower adhesion painter's tape, such as FrogTape® Delicate Surface, on surfaces like wood to minimize the risk of damaging the natural texture. This delicate surface painter's tape comes in varying widths to accommodate an array of project needs. For more guidance on selecting the best tape for wood furniture, visit our How to Use Painter’s Tape page.
- Prep the Surface: Prepping furniture for a fresh coat of paint is essential to achieve professional-looking results.
Start by removing hardware and filling scratches or dents with wood putty and a putty knife. Next, lightly sand the surface to remove any gloss or shine to create a smooth, even base for the paint.
Finally, remove dust, debris, grease or grime with a damp cloth, or a vacuum for drawers and cabinets. Buildup can prevent the tape from bonding to the surface, leaving room around the edges for paint to seep through.
- How to Put on Painter’s Tape: When you apply tape, use short strips to avoid stretching and place the pieces next to each other on the surface, such as around drawers or other edges on the furniture. More experienced painters may be able to apply the tape directly from the roll by keeping it flat against the surface. Regardless of how you apply it, ensure the tape is firmly adhered by eliminating any gaps around the edges.
Now that you have the right tape and applied it to a properly prepared surface, you’re ready to execute your paint designs with tape.
Painted Furniture Ideas
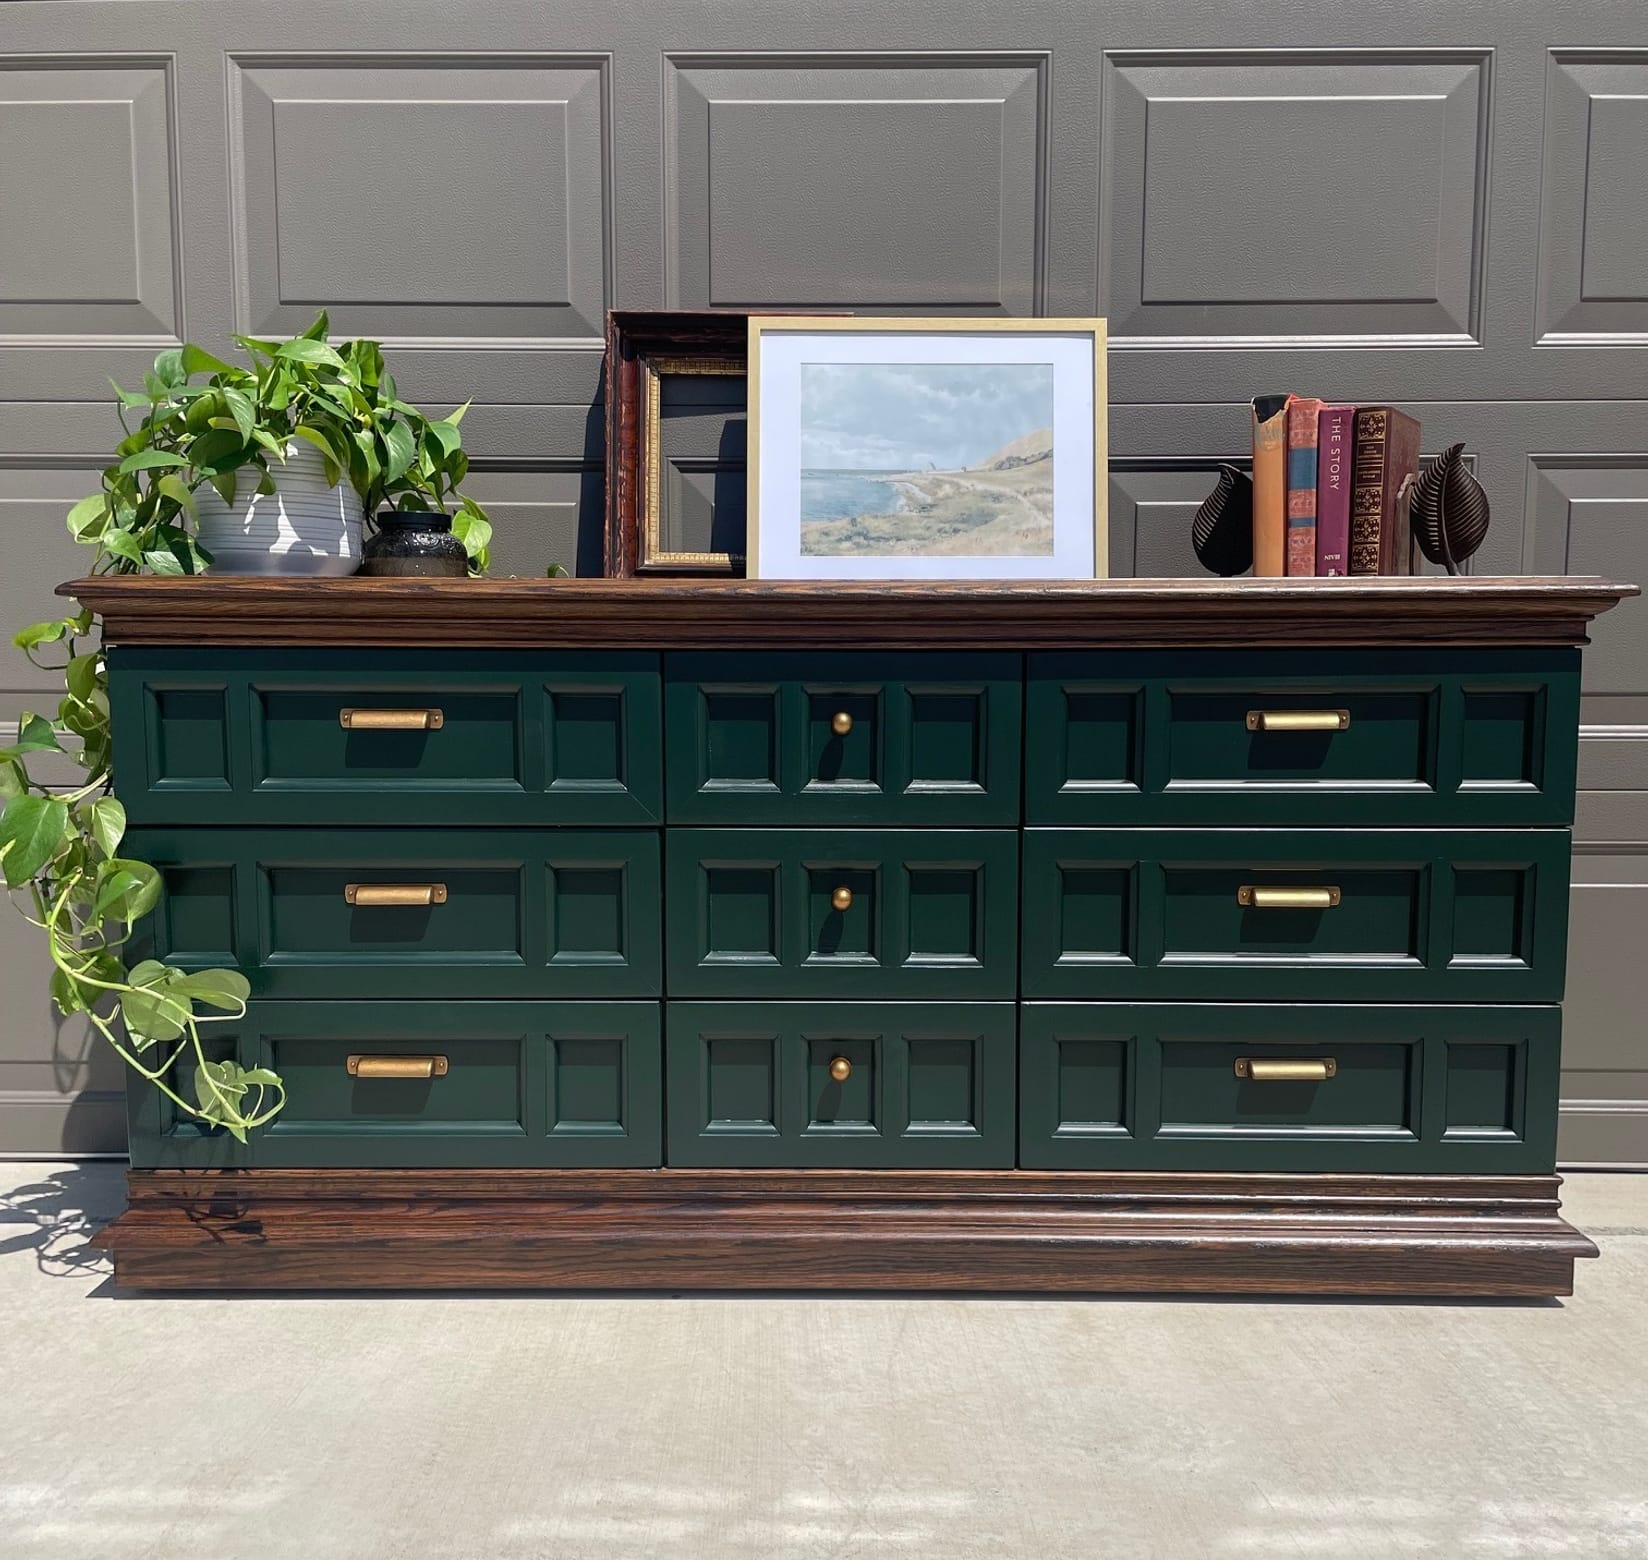
If you have an old piece of furniture you’d like to transform into a more modern or personalized piece, you could repaint the entire piece in a new color. You have other options, though. Consider these painting techniques for even more decorative appeal:
- Geometric designs offer a modern and clean look that’s easy to achieve with straight lines. If you’re painting a wooden table, for example, consider adding a symmetrical shape, like a diamond, to the center to create a built-in centerpiece. Or, if it’s a dining table, add rectangles for each place setting to create a placemat effect.
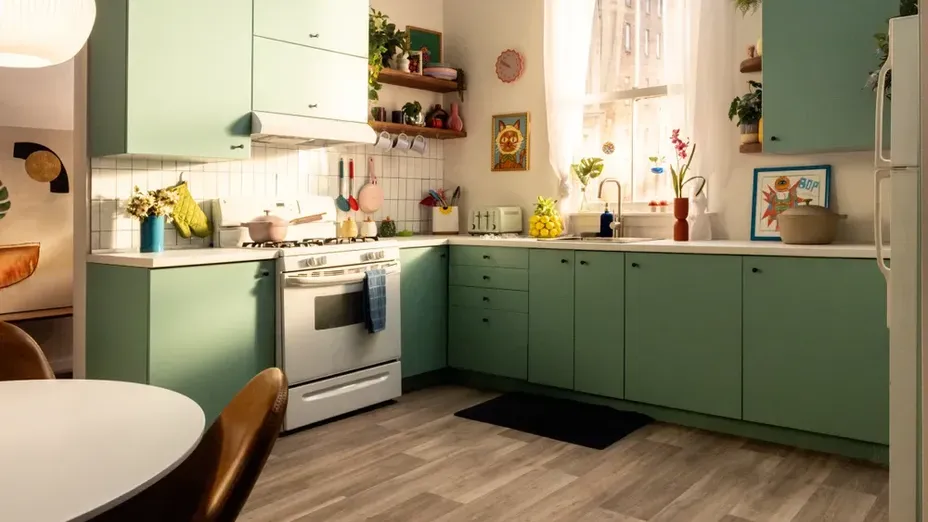
- Two-tone or color blocking is a simple way to add depth to furniture. One way to color block furniture is by using a different color on details like drawers and cabinets. Another option is outlining edges in a different paint color for a framed effect. Choose a neutral palette for extra elegance in any room or use bright tones to make a statement.
- Stripes can be bold or subtle, depending on the width, color palette and finish that you choose. Space them evenly for a clean and classic look or vary widths for a more modern and interesting take.
- Chevron patterns are a fun change from solid stripes and add movement to any piece. Like traditional stripes, you can vary the width, paint color and finishes for even more visual interest.
- Stencils and custom patterns are another way to add your personal style to the paint project. Purchasing stencils will aid in painting smaller, more intricate patterns, while painter’s tape aids in bringing larger custom shapes and patterns to life. Either way you go, you can select colors that play into the palette of the room where the furniture will live.
- Gradient, or ombré, is an eye-catching design that creates a subtle transition from one color (typically a lighter shade) to another (usually a darker hue). This is a great painting table design to try. Beginners may start small by applying thin coats on the legs before trying it on a bigger surface like the tabletop.
Whether you’re a beginner or ready for advanced furniture painting, tape can be used to complete these designs with ease.
Tape Tips for Success
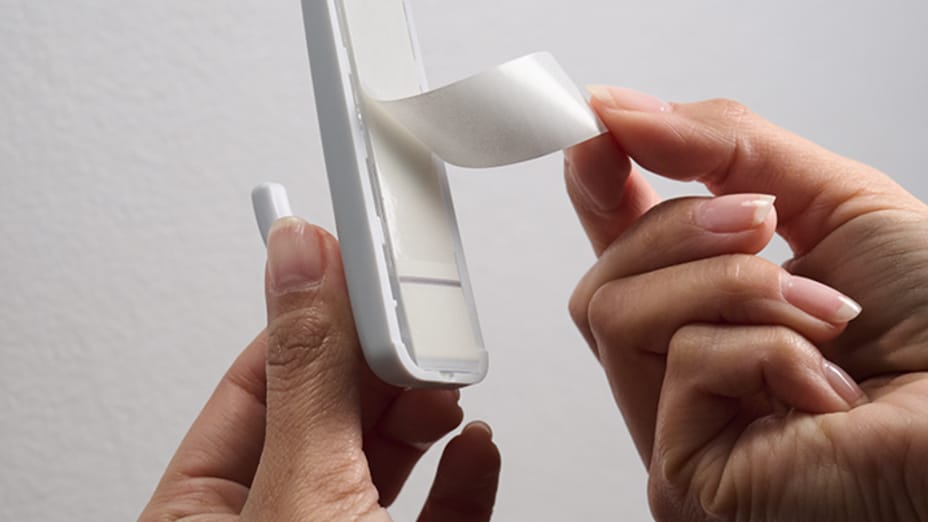
- Tape Removal: While the paint is still wet, pull the tape off slowly at a 45-degree angle away from the freshly painted surface for the sharpest paint lines. Remove the tape in short, one-foot strips to maintain control of the removal.
- Taping Layers: When using multiple colors, ensure each layer is dry to the touch before you apply tape for the next section. If you’re painting a freshly painted surface, opt for a delicate surface painter’s tape which is specially designed with a lower adhesion to help prevent surface damage.
Refresh Your Furniture
Furniture painting should be fun. Get creative and try a new technique, pattern or paint finish. If this article has helped you flip furniture of your own, tag @FrogTape on social media. We’d love to see it!
For more step-by-step project tutorials, tips and tricks and creative inspiration, explore our Resources section.